Today I decided to finally give Mayhem by Brent Spivey a proper go of it, pitting the Renaissance Englishmen up against the Forces of Undeath:
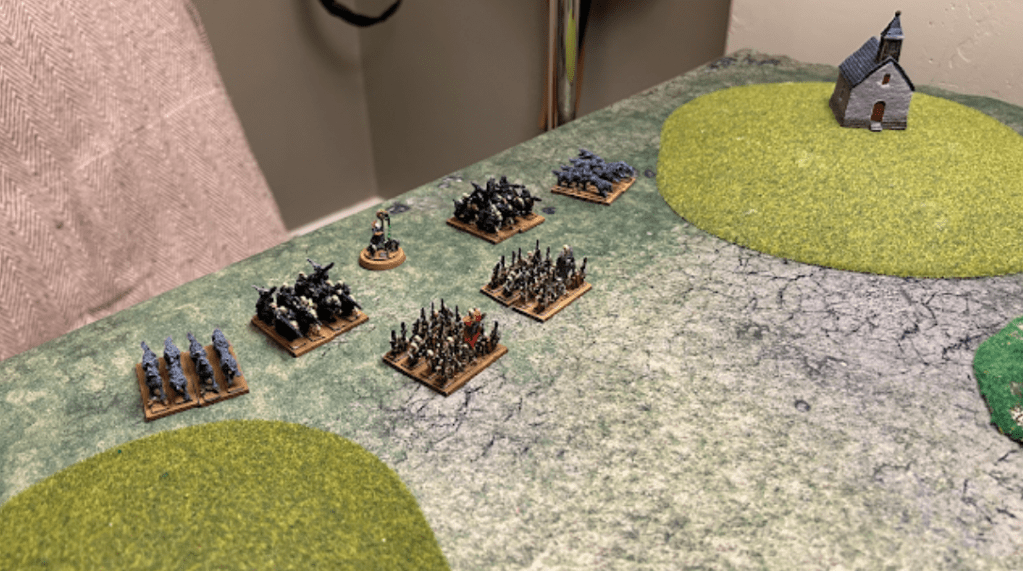
Vampirella’s Undead army consists of a Necromancer, 2x Dire Wolves, 2x Wights, 2x Skeletons
Vampirella’ game plan was to use the Direwolves as a surgical strike on Lord Catte’s musketeers and horsemen, using her Skeletons as ablative armour for the mounted Wights which would overwhelm the spearmen.
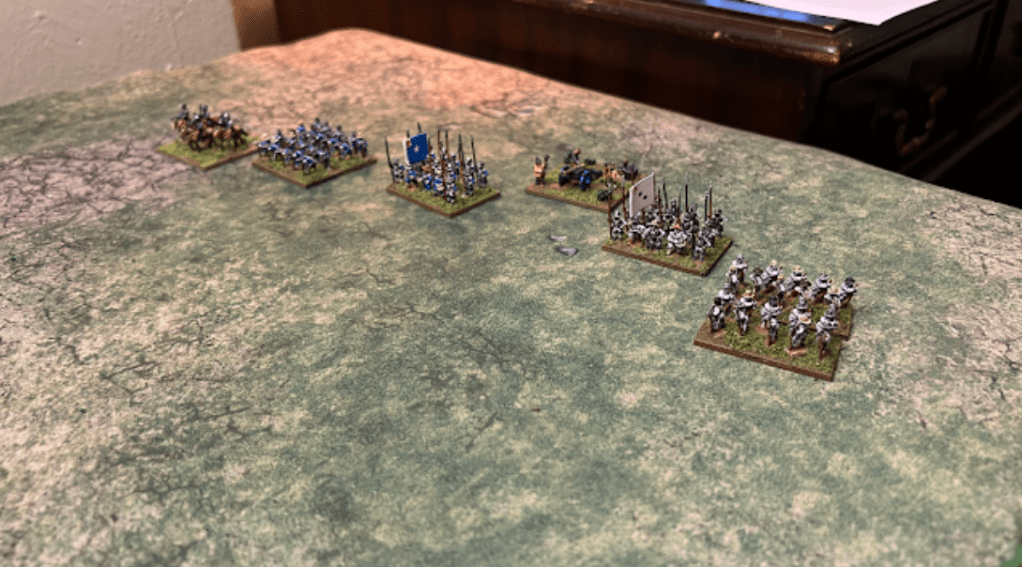
Lord Catte’s force consisted of a Cannon, 2 units of spearmen, 2 units of musketeers and a unit of horse.
Lord Catte was planning a to use his mobility to force the Undead army to split, dealing with the Wights first, then presenting an array of firepower against the oncoming foe.
The Game
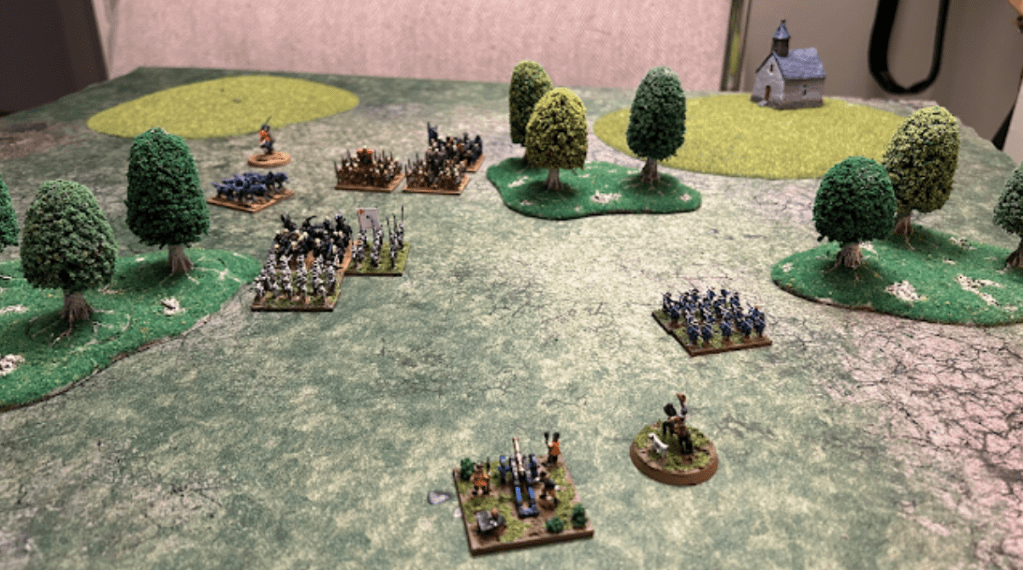
With rolls for command points, and then (mostly) rolls for movement distances, the game took a long time to develop. The following aerial shot is in the first half, but not much changed until the end:

The only action in the game really centred around two movements:
The dire wolves (middle-top in the above photo) ate through the horsemen and blue pike, and then routed the blue musketeers.
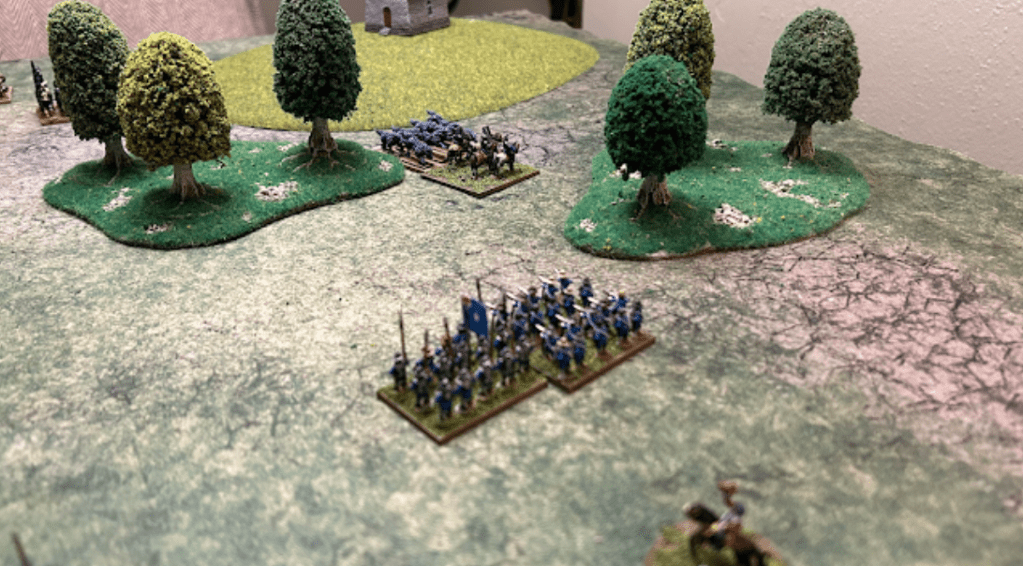
The Mounted Wights had charged the white musketeers, who bravely defended themselves – this pinned the undead horsemen in combat and vulnerable to a flank charge, for which the white pike duly obliged.
Spears are hard counters against cavalry (+2 dice types) and due to charging (roll 2x and pick highest) and hitting in the flank (roll +1x and pick highest), they rolled 3 times and pick the highest result. Unfortunately, despite this, the undead rolled a critical hit which kills the pike unit regardless and that’s half of the Living killed, so the game is over with an Undead Victory
Review
The first problem (Spoiler alert: OF MANY) is that there are no example army lists included in the book, you are thrown immediately into the minutiae of game mechanisms.
The apparent solution is to download an app called BattleScribe, and then import a BattleScribe file available on WargamesVault, import it and figure the app out from there.
I feel like since the Rulebook is a PDF (either as-is or Print-on-Demand) the extra cost for one page of typical units wouldn’t have gone amiss.
game mechanism(s)
The game is IGO/UGO, with a roll for command points at the start of each player’s turn. Command points are then spent on various actions, which are consume more or fewer points depending on challenging the action is, or if the same unit is being ordered more than once.
statistics
The main differentiator for Mayhem amongst other rank and flank games is that each stat is actually a die type and you can choose to take the median value, or roll the actual dice to chance getting a higher result at the risk of rolling lower. An example would be, if your MOV (movement range) is D8, you could take 4, or roll the dice to get anything between 1 and 8.
The impact of this zero-bellcurve model reared its head early in my game, with Vampirella’s pet Dire Wolves getting a turn 2 charge by rolling a 10 (on a D10) for their movement distance:
Vampirella set up the skeleton warriors with a standing order to advance every turn, but with a default move of just 3″ even on this 3×3′ board they didn’t make it into combat before the end of the game. Where’s Vanhel when you need him?
rules clarity
The rules are written in a conversational manner and spread throughout the book, and there is a real lack of clarity. For example:
‘Move to Engagement’ is a unit moving their MOV distance (either default or danger) into an enemy, when it is then ‘able to initiate a melee’ which costs 1CP.
‘Initiate a Melee’ is another action costing 1CP – so does a unit that moves to engagement get this for free, or have to pay for it? If they have to pay for it does it count as a second action (and thus cost double for a total of 1+2CP)
‘Charge’ is the same as ‘Move to Engagement’ but you can instead roll two stat dice and pick the highest – getting a free Impact hit if you have the rule for it – but no more clarity on the melee afterwards either.
‘Advance’ is the same as ‘Move to Engagement’ but you can do it with multiple units that are in Base to Base contact.
I may be a joyless grog but surely there is a more straight forward way to describe this?
The end of the game is when one side has either a) lost a general, or b) lost half their units. Unit loss in this game is a ‘two strikes and you’re out’ affair – a unit becomes disordered if its armour is beaten by a ranged attack, or if it’s beaten in combat. Once a unit is disordered any further harm kills it outright – unless a critical hit is rolled which insta-kills it.
The rulebook contains rules for Monstrous creatures, Behemoths, more War Machines, Sieges, Magic, etc. but I feel that the foundation for this system is so ephemeral and with so little apparent balance, I can’t see how adding more complexity will improve it.

Leave a comment